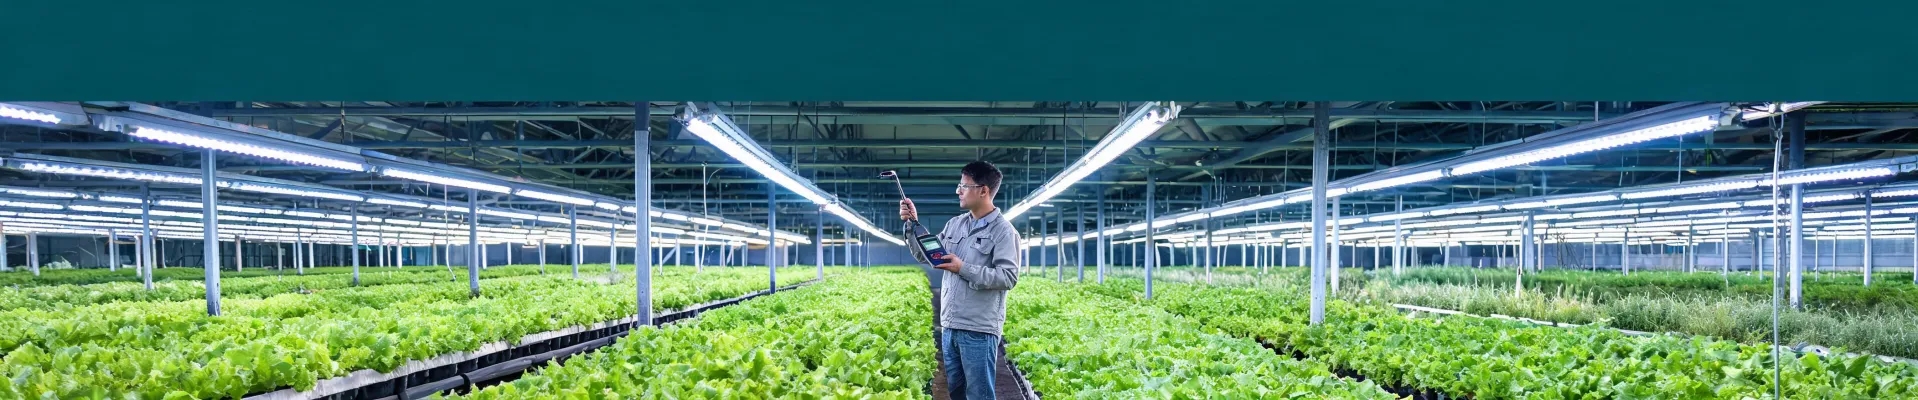
There Is No One 'Right' Gavita Order
I've spent six years buying horticultural and commercial lighting for resale and project work. In that time, I've personally made 11 significant sourcing mistakes. Total wasted budget: roughly $28,000. The expensive part wasn't the product line. It was the mismatch between what I ordered and the reality it landed in.
So before looking at a spec sheet, figure out which scenario you're in. I use three:
- Scenario A: You need Gavita grow lights as the main top light for a grow room or greenhouse.
- Scenario B: You already have top light, but you want Gavita under canopy lights for the lower leaves.
- Scenario C: You're sourcing bulk commercial lighting—spotlights, downlights, or OEM/private-label fixtures—for a building project.
These sound related, but they lead to different decisions. I've made costly mistakes in all three. Let me save you the same expensive lessons.
Scenario A: Buying Gavita Grow Lights as Main Top Light
First mistake: choosing by maximum wattage. I know, "bigger number" feels safer. In my second year, I ordered Pro 2400E fixtures for a propagation area because I wanted headroom. The fixtures were too strong for the target DLI. I ended up running them at 40%, which annoyed the grower and wasted the extra cost. That was $1,600 in unnecessary hardware plus a dimming retrofit.
What works better: map the coverage area before choosing the fixture. A Gavita Pro 1700E or 1900E is often the smarter fit for irregular or lower-height spaces because its coverage pattern is easier to blend. The Pro 2400E makes sense for a wide, even canopy where mounting height can do the blending. The CT 1930E adds spectrum flexibility, but only if your team knows how to use it. If nobody can configure it, you're paying for a feature you'll never touch.
I went back and forth between 1700E and 2400E for two weeks on one project. On paper, the 2400E had more photons per fixture. My gut said the mounting height would be awkward. My gut was right. Check the recommended mounting height and coverage data on Gavita's spec pages (gavita.com) before you order. Don't rely on the sales line.
Scenario B: Adding Gavita Under Canopy Lights
Under canopy lights are supplements, not standalone top lights. The mistake I see most—and made myself—is treating them like extra grow lights.
I once ordered under canopy lights to "brighten up" a veg room. We hung them too close to the canopy, created shadowing, and had to rehang the whole row. That was $450 in labor plus a three-day delay. I still kick myself for not measuring the mount points first.
Here's what I'd do now:
- Plan the placement first. Under benches, along walkways, or angled toward shaded lower leaves. The goal is to fill the understorey, not create a second hot spot.
- Match the photoperiod. Don't run under canopy lights all night just because they're easy to leave on. The dark period matters. Tie them to the same timer or controller as the main lights.
- Buy spare mounting clips and extension cables in the initial bulk order. It feels like an upsell until the first install runs short and you're paying overnight freight for a $20 part.
If you're also considering UV or Clone Bar fixtures, keep them in a separate line-item. They're different tools with different placement rules. Bundling everything into "the Gavita order" leads to skipped details.
Scenario C: Bulk Commercial Lighting, Spotlight Sourcing, and Downlight Specs
This is where I lost most of my budget. Not because the fixtures were bad, but because the specifications were vague.
I don't have hard data on how many bulk orders miss spec industry-wide. What I can say anecdotally: in our last 34 commercial purchase orders, at least five had a spec mismatch on the first delivery. Some were small—wrong CCT, wrong trim. One was the finish difference I'll describe below. Each one cost time and credibility.
A Minimal Downlight Specification Guide
Here's where to start:
- Aperture size (e.g., 4-inch, 6-inch)
- Lumen target at the fixture level, not just LED chip level
- Color temperature and CRI (3000K / 90 CRI is my default for hospitality and retail)
- Dimming protocol (0-10V, DALI, phase-cut)
- Driver access location and housing type
- IP rating if the location is damp or wet
- Required certifications (UL Listing, CE, DLC, etc.)
Spotlight Sourcing: Beam Angle Changes Everything
For spotlights, add beam angle to the list. A 20W LED with a 15° beam is a completely different fixture than a 20W LED with a 60° beam. If a supplier sends a PDF datasheet without an IES photometric file, ask why. The IES file is what lighting designers use to predict the result.
Also ask for test reports. According to FTC business guidance (ftc.gov), advertising claims need to be truthful and substantiated. That principle applies to procurement too. When a vendor says "commercial grade," ask for the LM-80 test report or the UL file number. If they can't produce it, the claim is just decoration.
Never expected a budget downlight sample to beat a premium one in our side-by-side test. Turns out the cheaper model had a better driver and more consistent color across units. The premium one had a prettier datasheet. That taught me to test samples instead of trusting brand tiers.
That's also where quality perception comes in. The client doesn't see your supply chain. They see the finished ceiling. A subtle finish mismatch on a 200-piece downlight order made one of our clients say the project "felt like a low-bid job." The fixtures worked fine. We still replaced every trim ring. That was $2,300 and a week of delay because I skipped the finish-sample approval.
How to Judge Your Own Situation
By now you've probably noticed the common thread: the real decision isn't "Gavita vs. another brand." It's "which fixture for which layer of light."
Try this self-test:
- If you're illuminating a uniform canopy from above, start with Scenario A. Focus on coverage pattern, mounting height, and spectrum flexibility.
- If you already have top light but lower leaves are shaded, start with Scenario B. Map the under canopy placement before you order.
- If you're lighting a building, retail space, or custom private-label project, start with Scenario C. Build the spec sheet first.
- If you genuinely need all three, run them as three separate orders with three separate checklists. I tried to combine everything into one purchase order once. That was mistake number eight. The truck arrived, and we had no mounting hardware for any of it.
One more thing: when in doubt, ask for a sample or an approved physical mock-up. It's easier to spend $50 on a sample than to spend $2,300 on replacing the wrong trim rings. I've now made that mistake enough times for both of us.
Clara Whitmore
Clara Whitmore is a lighting photometry and LED source analyst specializing in bulbs, tubes, strips, panels, and integrated luminaires. She interprets IES LM-79 measurements and TM-30 color rendition data through luminous flux, efficacy, intensity distribution, CCT, chromaticity, fidelity, and gamut metrics. She writes evidence-led comparisons for specifiers selecting source formats and luminaires for commercial interiors, industrial spaces, or horticultural systems where measured optical and color performance matter.